Quick Start
# Clone Repo
git clone https://github.com/spellshift/realm && cd ./realm
git checkout -b latest $(git tag | tail -1) # Checkout the latest stable releases

# Start Server
go run ./tavern

# Start Agent
cd implants/imix && cargo run
Getting Started
Welcome, intrepid red teamer! This guide will launch you into a sandboxed Realm experience, perfect for experimenting and exploring its features. Think of it as your personal training ground before unleashing it in real-world engagements. But first, let’s make sure you’re in the right place.
- Want to deploy Realm for production? Check out our deployment guide.
- Want to write new Tomes? Check out our Tome guide.
Otherwise, let’s delve into Realm! Break, bend, and explore to your heart’s content. This is your chance to unlock Realm’s potential and get comfortable before your next engagement. Time for an adventure!
Tavern (C2 / Teamserver)
In the bustling world of Realm, the Tavern serves as your red team’s central operations hub. It is your virtual war room, managing Beacons, those carefully planted footholds within your target landscape. Think of them as listening posts, constantly relaying intel back to the Tavern and awaiting Quests.
But the Tavern is more than just a C2. Imagine it as a vast, ever-evolving map of the target environment, a knowledge graph meticulously built from collected data. It will help you navigate the terrain, identify vulnerabilities, and plan your next move with strategic precision. Remember, a well-stocked Tavern paves the way for successful campaigns!
To start Tavern, open a terminal and run the following:
git clone https://github.com/spellshift/realm.git
cd realm
git checkout -b latest $(git tag | tail -1) # Checkout the latest stable releases

go run ./tavern

The warnings you see here indicate that there are settings recommended for production environments that have not been configured. For now, it’s safe to ignore these and continue on.
Tavern (Redirector)
If your adventure requires you to roll for stealth, Tavern’s redirectors have your back! Redirectors allow you to forward traffic from multiple different IPs, Domains, and even protocols. Including gRPC, HTTP/1.1, and DNS. Out of the box, Tavern C2 only uses gRPC, but by adding a redirector you unlock any supported protocol.
git clone https://github.com/spellshift/realm.git
cd realm
git checkout -b latest $(git tag | tail -1) # Checkout the latest stable releases

go run ./tavern redirector --transport grpc http://127.0.0.1:8000
Imix (Agent / Beacon)
Imix is the supported Agent for Realm. This fiery trickster resides within your target network, eagerly awaiting your commands whispered through magical Eldritch Tomes. These Tomes, inspired by MITRE ATT&CK tactics, empower Imix to scout, exploit weaknesses, and launch attacks against target systems.
git clone https://github.com/spellshift/realm.git
cd realm/implants/imix
git checkout -b latest $(git tag | tail -1) # Checkout the latest stable releases

cargo run
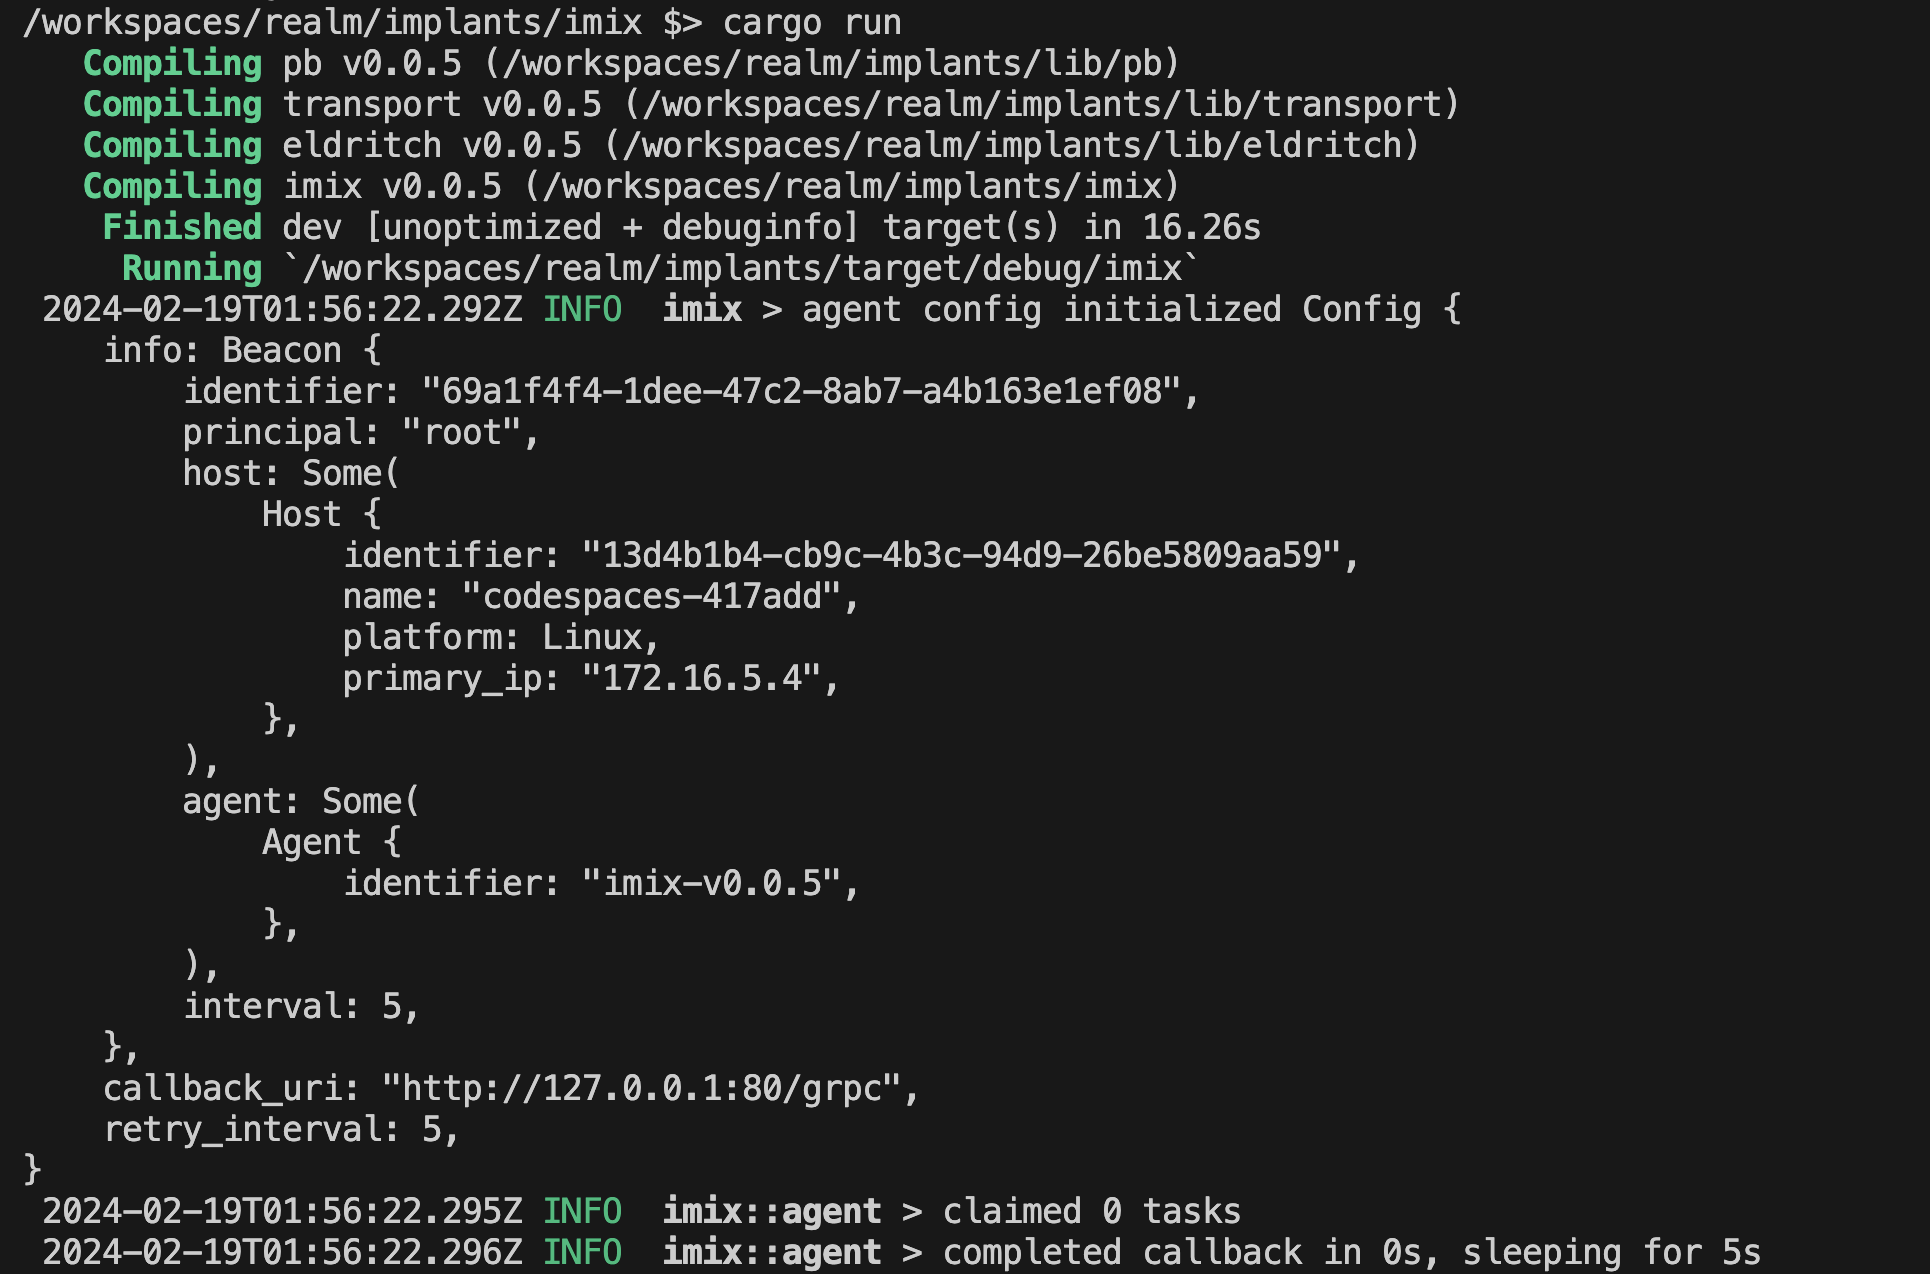
Here we run the imix Agent, and with this debug-mode, it will log information to keep you informed of its operations. When built for production, imix does not generate these logs (see our imix guide).
You’ll notice two key components of the configuration:
uri- Defines the URI for Tavern, where this Beacon should callback to.interval- Defines how often this Beacon should perform callbacks (in seconds).
These configurations can be controlled via Environment Variables at imix compile-time. See the imix configuration docs for more information.
Quests
Now it’s time to provide our Beacon its first Task. We do this, by creating a Quest in the UI, which represents a collection of Tasks across one or more Hosts. Let’s open our UI, which should be available at http://127.0.0.1:8000/.
Beacon Selection
Now from the left navigation menu, select “Create new quest”.
Note: Service + group searches use AND while service + service or group + group searches use OR
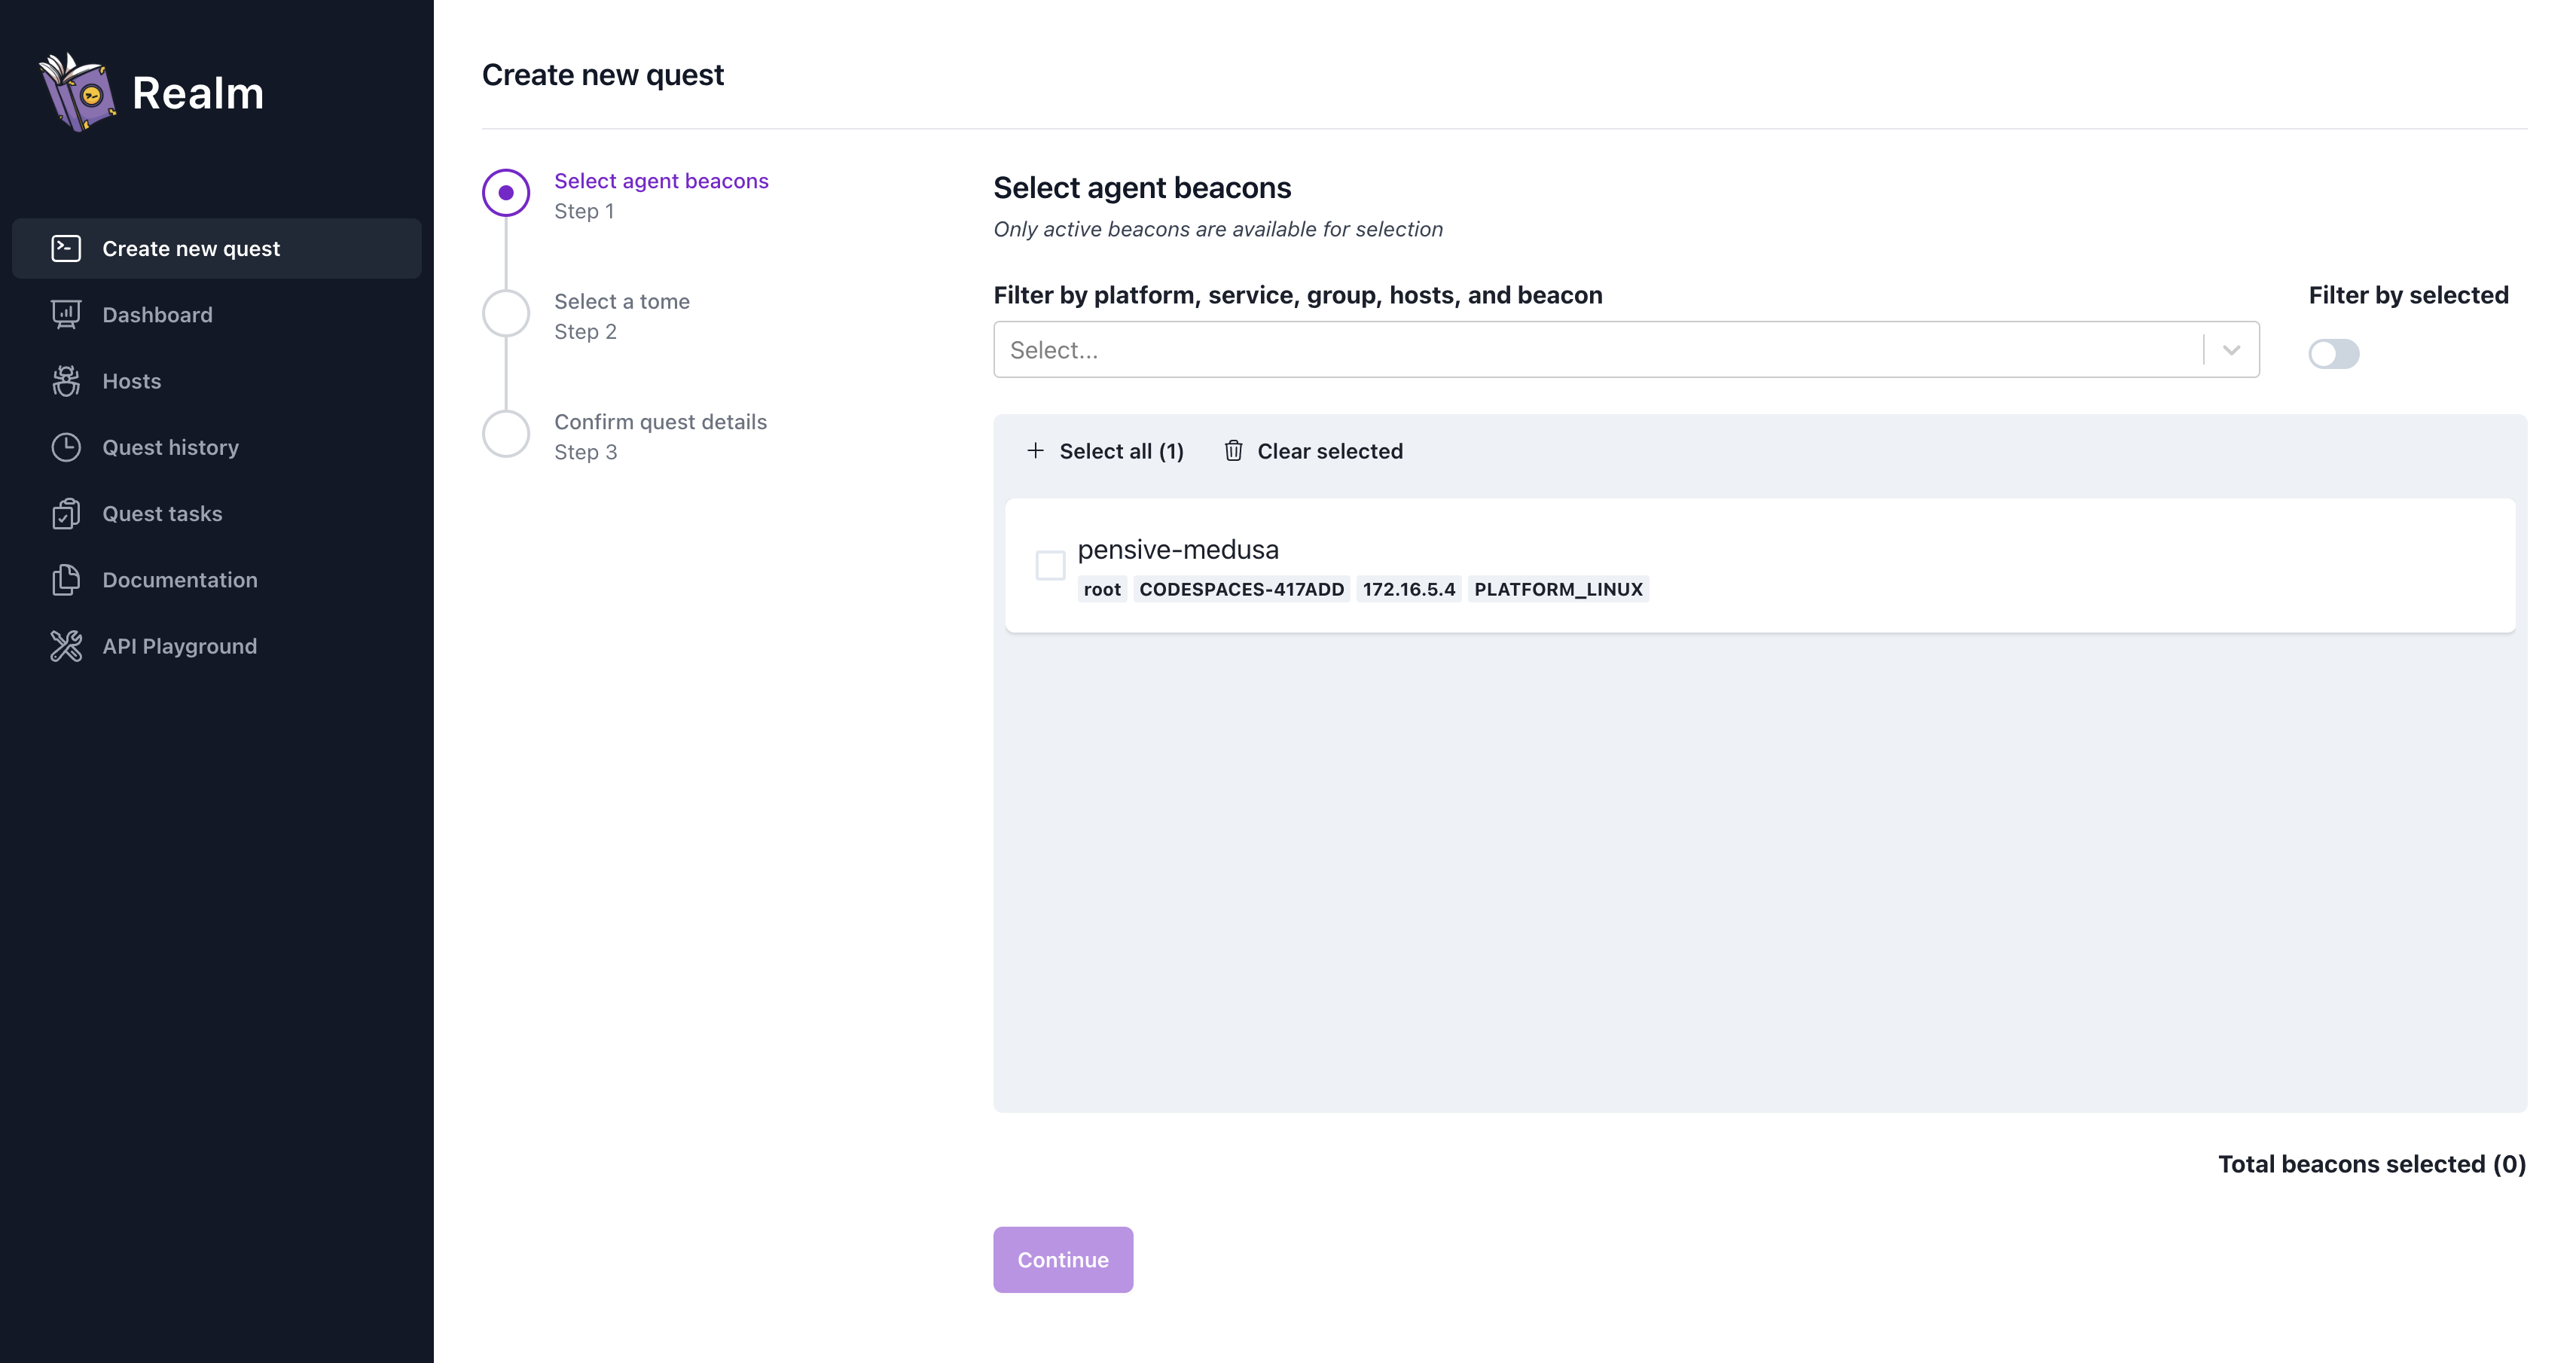
This view will show all of our active Beacons available for tasking. You can use the “View one beacon per host” toggle to filter and display only the Best Beacon per Host, which prioritizes beacons with admin privileges and better transport protocols (gRPC > HTTP > DNS). This is useful when you have multiple beacons on the same host and want to task only the most capable one. For now, simply select your creatively-named Beacon and click “Continue”.
Tome Selection
A Tome is an Eldritch package ready for execution by imix. By default, Tavern includes several core Tomes to get you started. But don’t worry, for more customization and advanced capabilities, it’s easy to write your own Tomes! These Tomes are designed to be cross-platform, so it shouldn’t matter which platform you’re running on. You can view the underlying Eldritch code a Tome will run by clicking on the “details” dropdown. Feel free to take a minute to read through some of the core Tomes available to you.
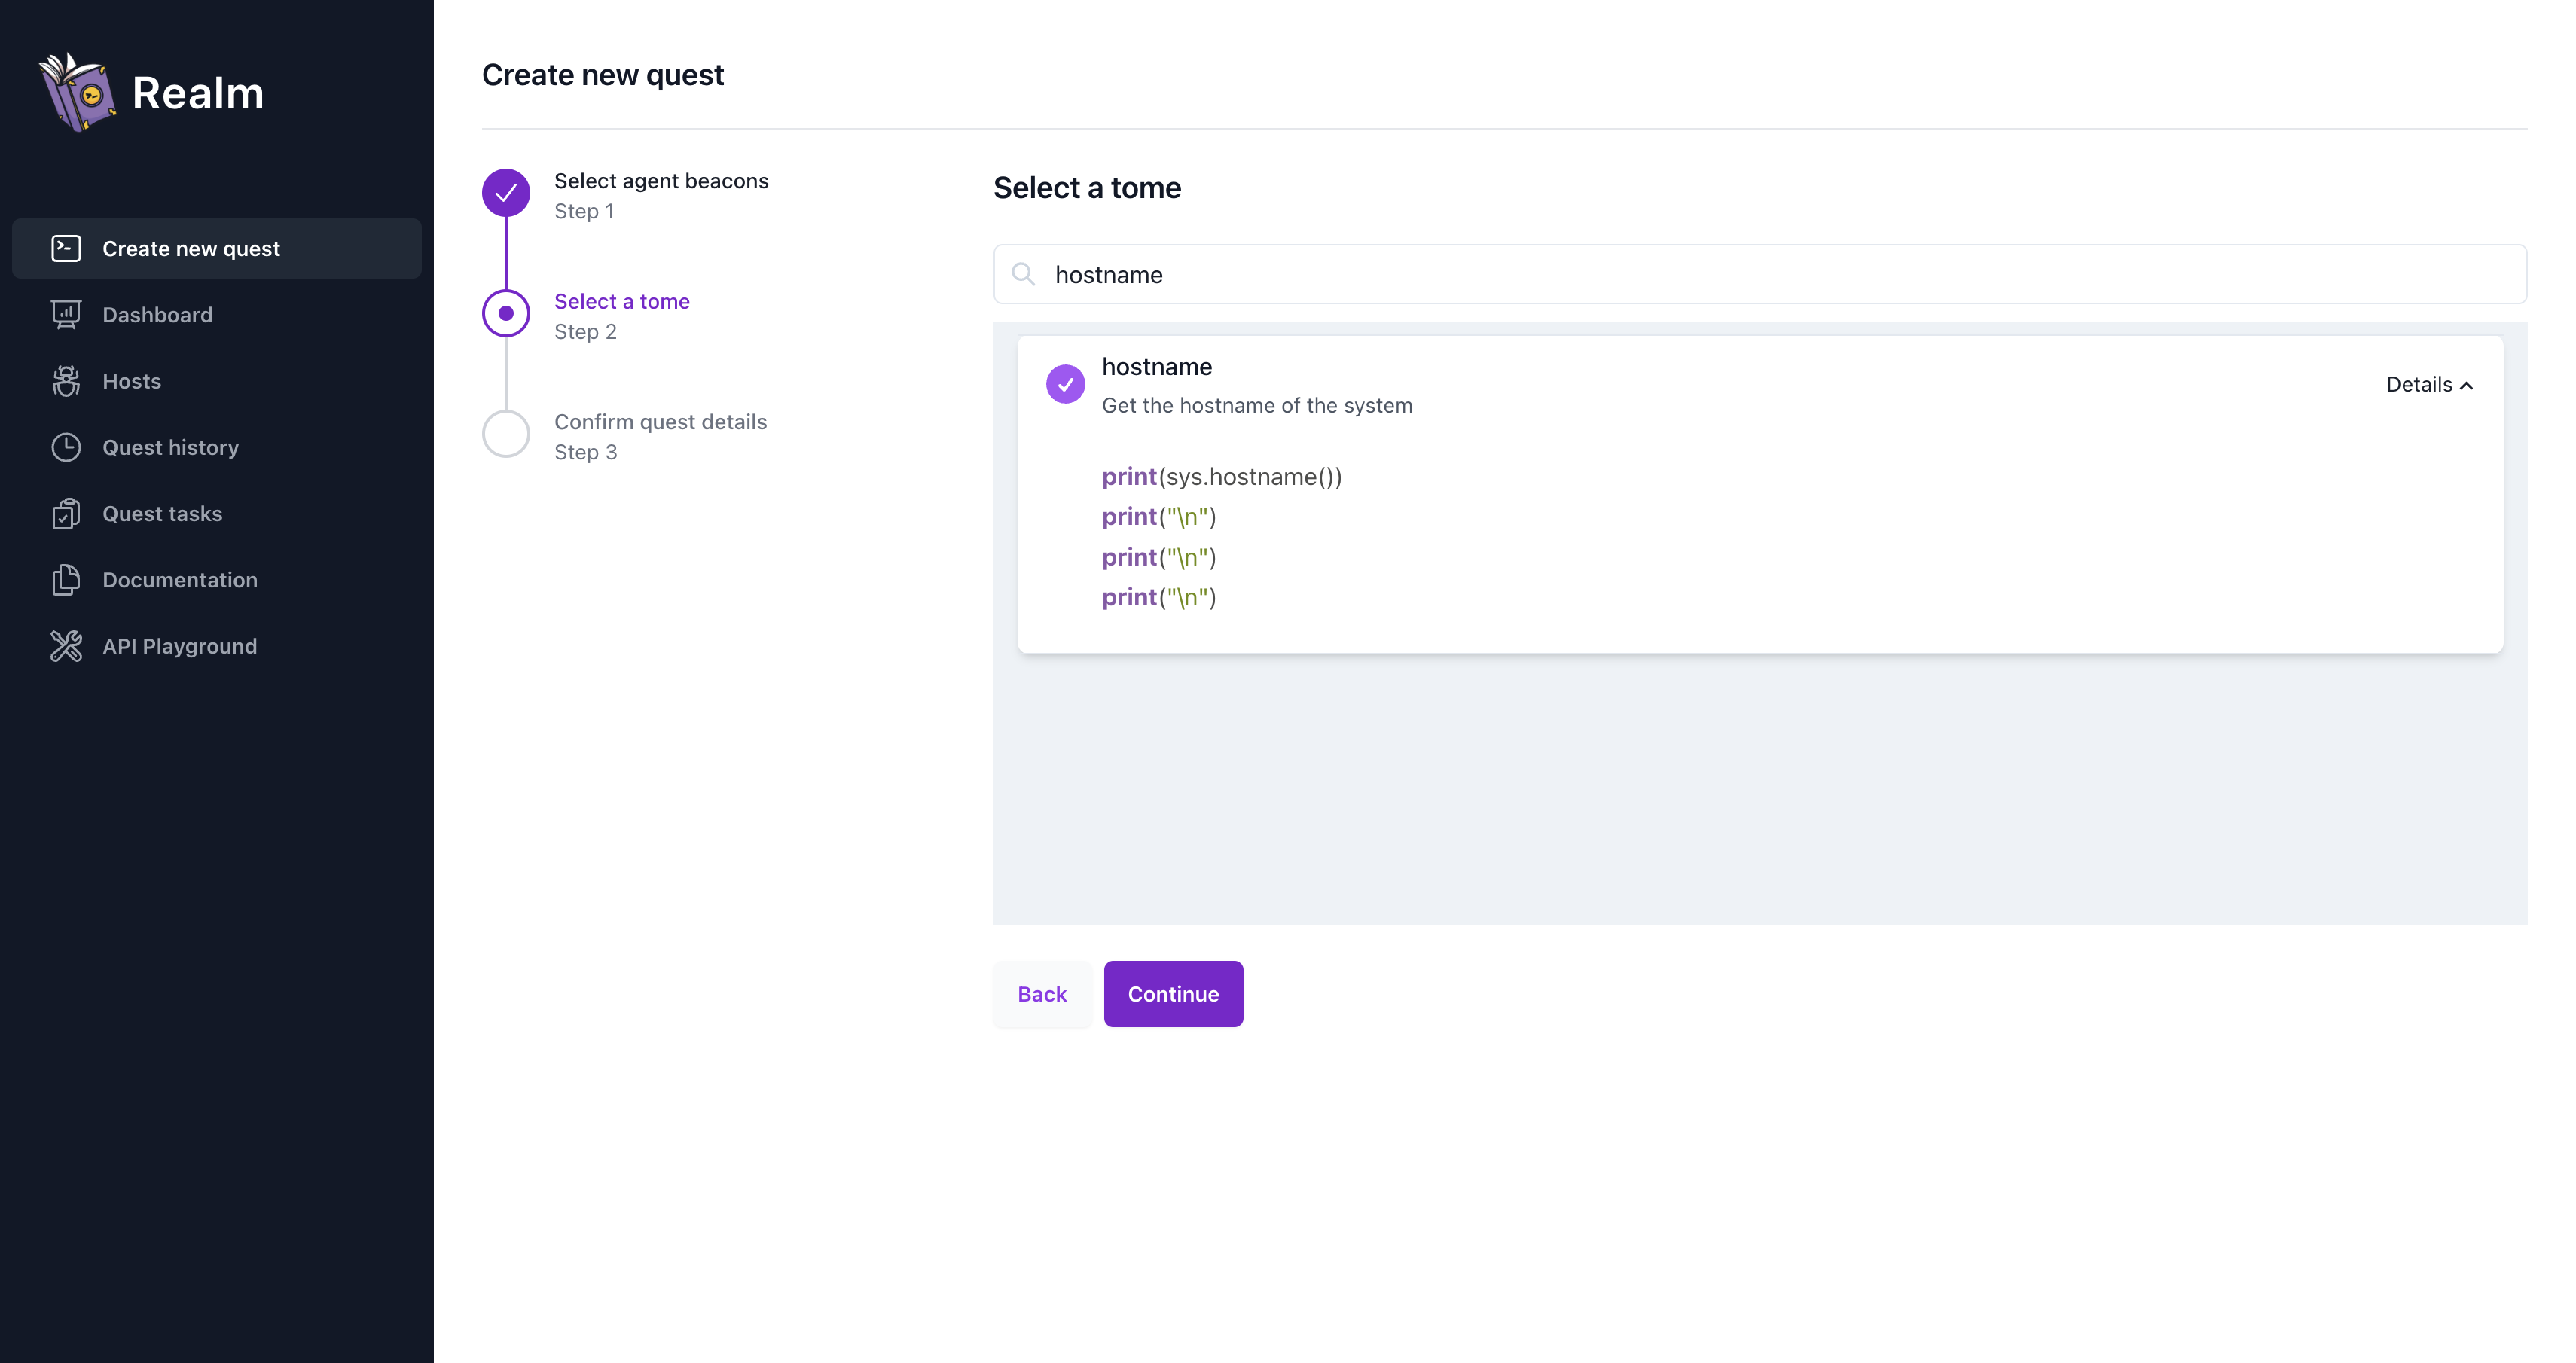
Let’s select “System Info”, which will print the OS, hostname, and IP of the Host imix is running on as well as the user the Beacon is running as. You may filter Tomes using the search bar above. Certain Tomes will allow / require you to specify parameters to inform their execution, which will be displayed in this step (for relevant Tomes). When you’re ready, select “Continue”.
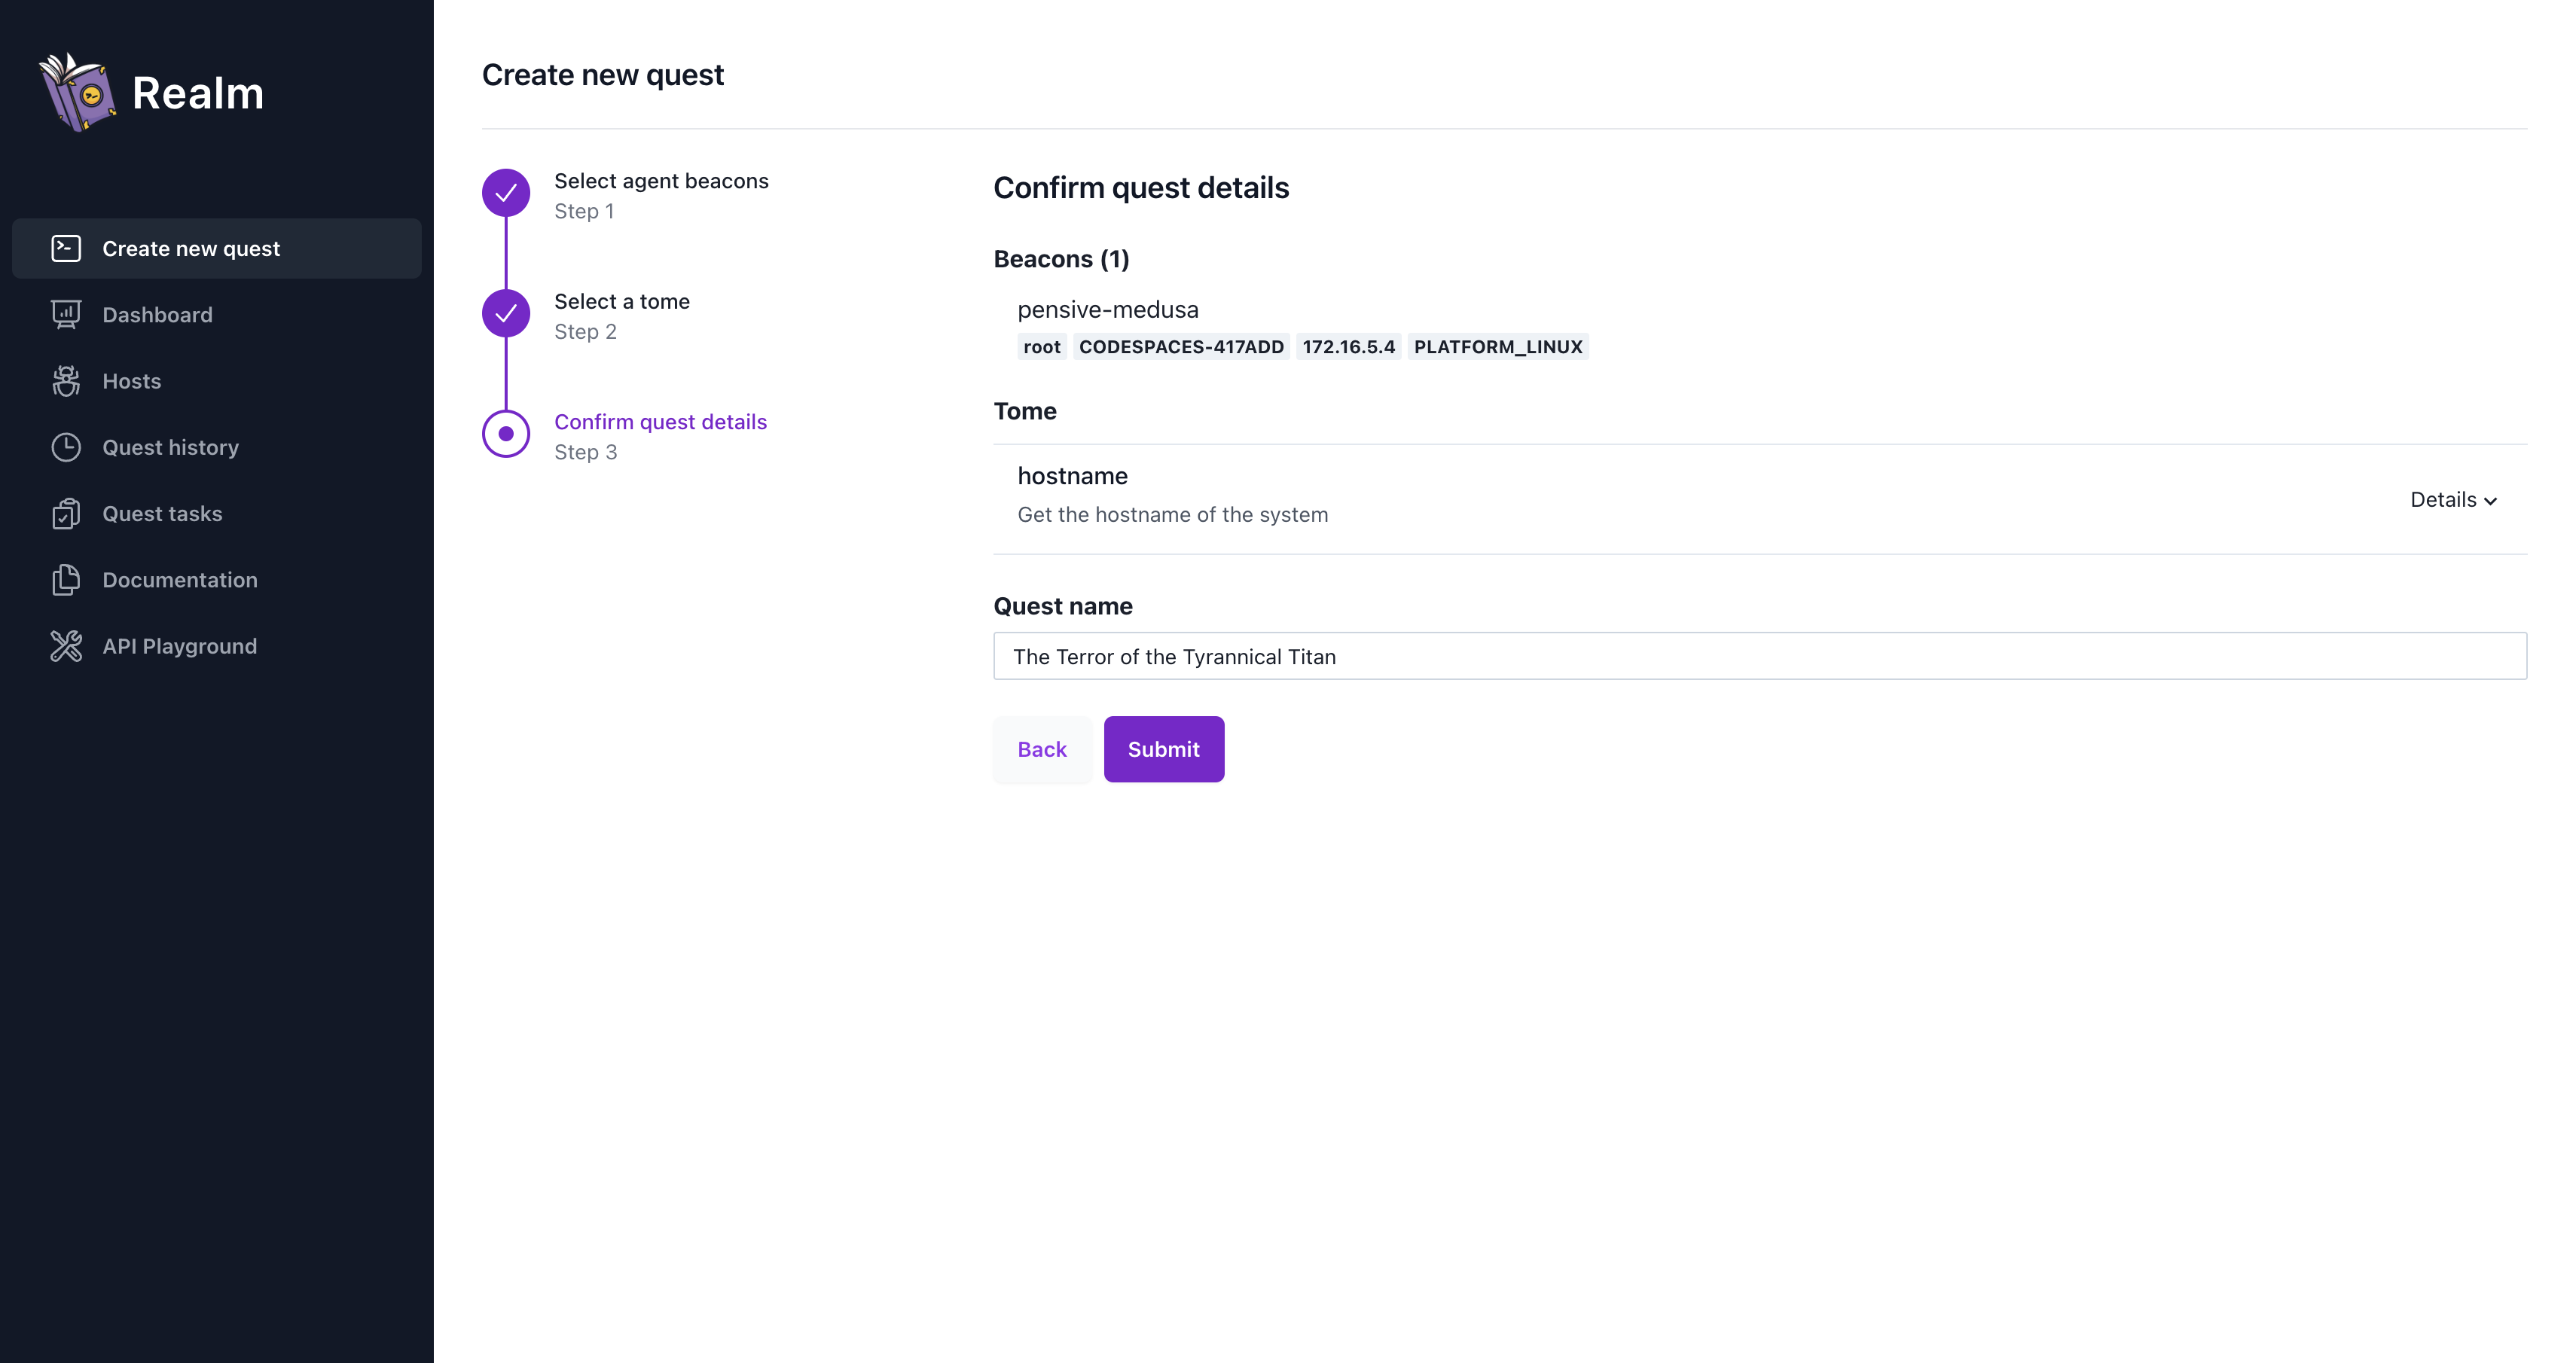
Confirm and Submit
Lastly, we’ll be greeted with a prompt displaying a summary of the Quest you’re about to launch. Check that everything looks correct, and click “Submit”!
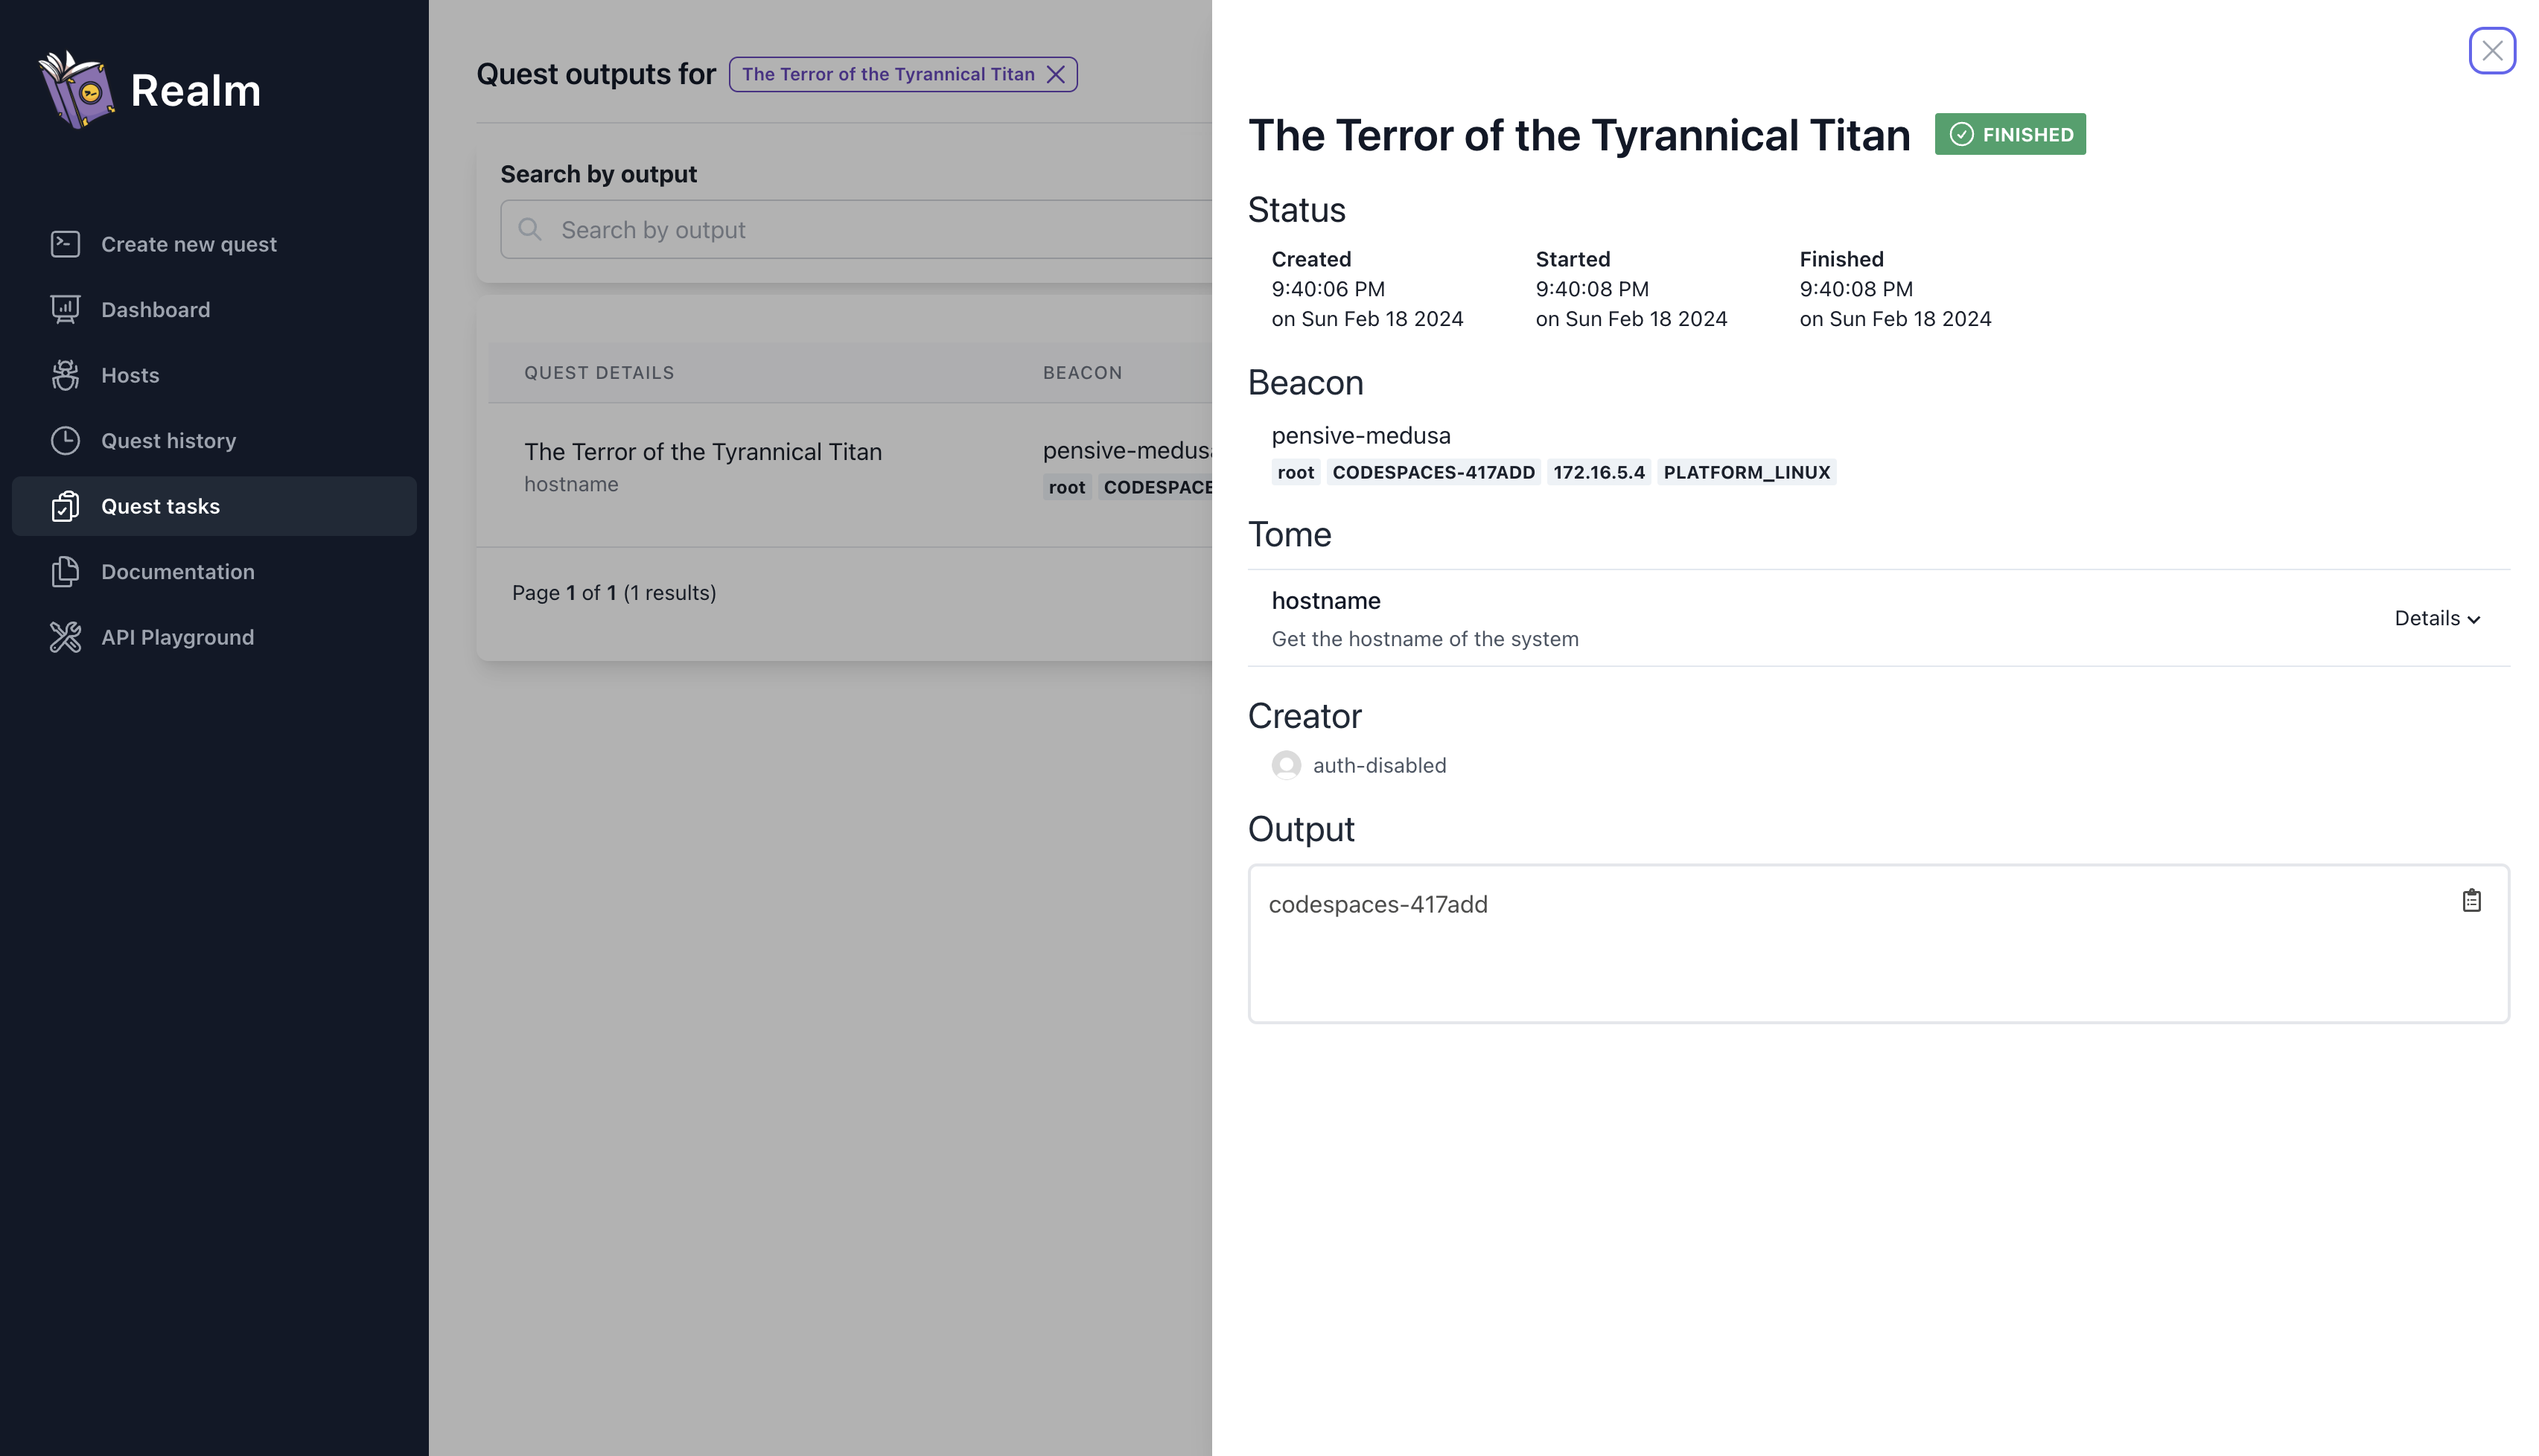
Results
Now, in your imix logs you’ll see that when it calls back, it will obtain the Tome from Tavern and evaluate it. On its next callback, it will report the results.

Refresh the UI, you should see the output is now available!
This concludes your initial foray into Realm, but the true adventure lies ahead. Having navigated this introduction, you now possess the foundational knowledge to embark on your red teaming journey with Realm.
Remember:
- Craft Strategic Campaigns: Leverage Eldritch Tomes to orchestrate Imix’s actions, aligning them with your specific objectives.
- Analyze and Adapt: Use the ever-expanding knowledge graph to inform your decision-making and refine your attack strategy.
- Harness the Community: Engage with the growing Realm community to share knowledge, gain insights, and contribute to its evolution.
Farewell, adventurer, and may your Quests with Imix be fruitful and fiery!
Feedback
Was this page helpful?
Glad to hear it! Please tell us how we can improve.
Sorry to hear that. Please tell us how we can improve.